HT-HC32/33 ESP-HaLowCamera
Introduction
ESP-HaLowCamera is a development board with integrated camera, based on the ESP32-S3 MCU and Wi-Fi HaLow module.
Note
The device can only operate as a HaLow STA (Station/client) and cannot function as a HaLow AP (Access Point).

Feature
ESP32-S3+MM6108, integrated Wi-Fi, Bluetooth, and Wi-Fi HaLow three network connections
CP2102 USB-to-serial chip.
Long transmission range, up to over 1~2km.
Integrated camera.
Integrated SD card.
Type-C USB interface.
SH1.25-2 battery interface.
Supports the Arduino development environment.
Components

Basic Resources
Pin Layout

For description of function names, please refer to ESP-HaLowCamera Datasheet.
Get started
Required Hardware
USB Type-C cable
Computer running Windows, Linux, or macOS
Note
Be sure to use an appropriate USB cable. Some cables are for charging only and do not provide the needed data lines nor work for programming the boards.
Hardware Connection
The installation direction of SDcard and camera is shown below.

Required Software
Git (GitHub installation required)
Installing the development framework
Heltec provides an Arduino-based development framework that includes basic ESP32 code and sample Wi-Fi HaLow code.
For installation, please refer to this link: Heltec ESP_HaLow Development Framework Installation Guide.
Programming
Once you have the framework and libraries installed, connect your computer to the board and start programming nodes.
Example:
Connect your node to the computer with a USB cable.
Open Arduino IDE -> Tools, correctly select the board.

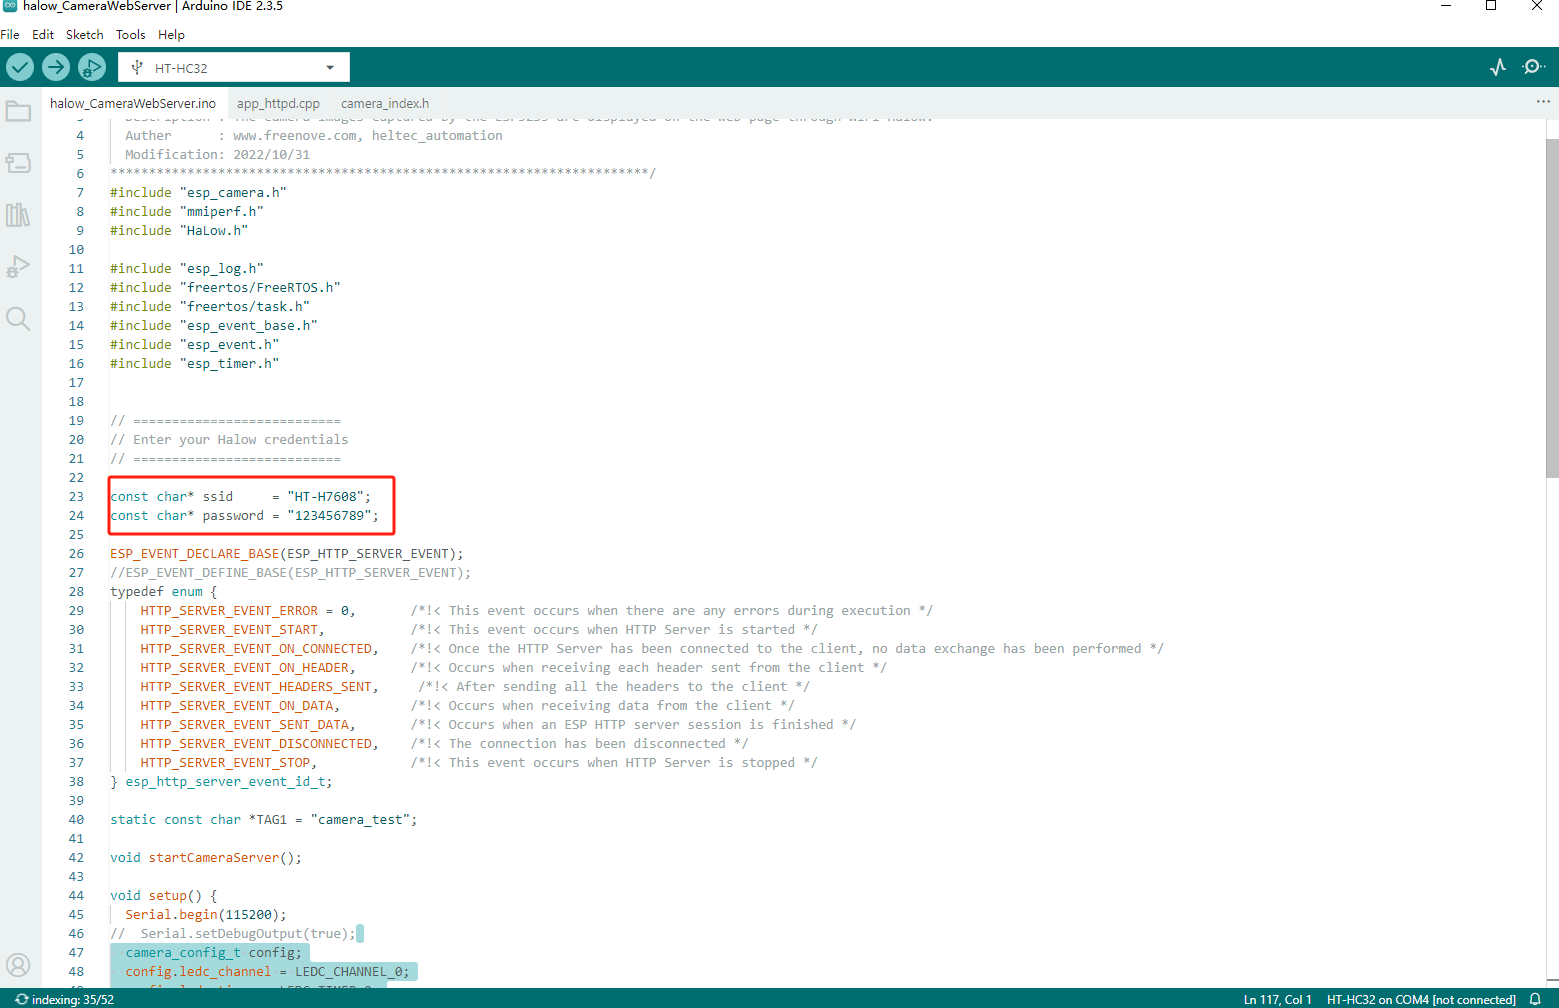
Select File -> Example -> WiFi HaLow -> halowCameraWebServer.

Fill in the SSID and password for the WiFi HaLow AP side.
Compile and upload the code.

After the code is uploaded, open the device serial monitor, where you can see the IP address of the HC32.
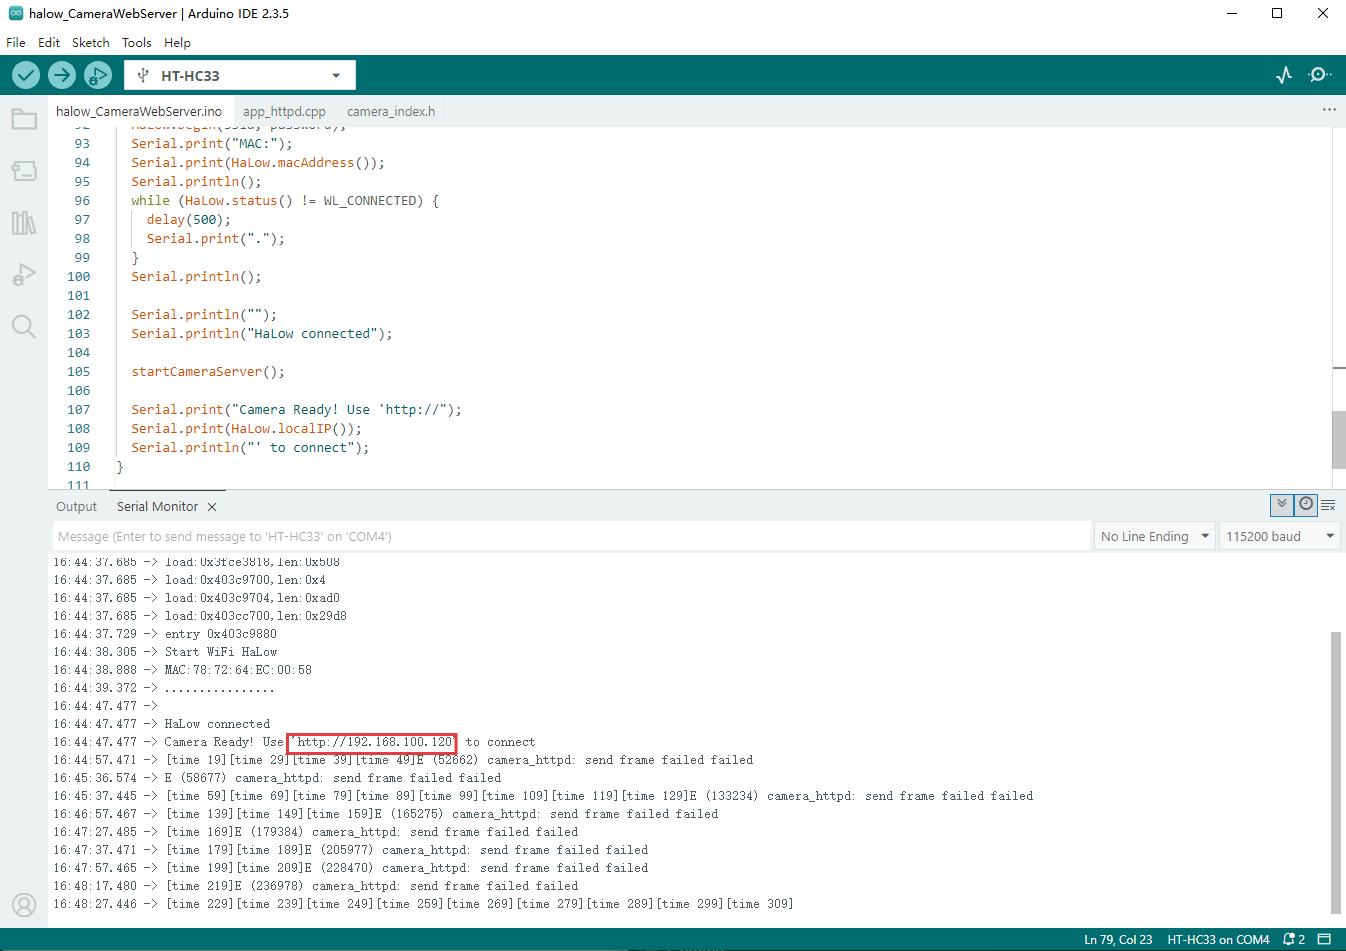
When your device and the HC32 are on the same network segment, you can access the camera by visiting the HC32’s IP address. For example, connect your phone/computer to the network provided by the HaLow AP.

FAQs
Heltec General Docs
–>[General Docs]<– <https://docs.heltec.org/general/index.html>